The Essential Prep Work That Makes or Breaks Your Painting Project
- Feb 18
- 3 min read
Starting a painting project might seem straightforward: pick a color, grab a brush, and start painting. But the truth is, the quality of your final paint job depends heavily on the prep work done before the first coat goes on. Skipping or rushing through preparation can lead to peeling, uneven coverage, and a finish that doesn’t last. Whether you’re a homeowner refreshing your walls or a landlord preparing a rental, understanding the steps professional painters take can save you time, money, and frustration.
This post explores the essential interior painting prep steps that painters Kansas City professionals rely on to deliver flawless results. You’ll learn practical tips and see why prep work is the foundation of any successful painting project.
Why Interior Painting Prep Matters
Painting is more than just applying color. The surface you paint on affects how the paint adheres, how it looks, and how long it lasts. If the walls are dirty, cracked, or uneven, paint will not stick properly and imperfections will show through. This can lead to peeling paint, bubbling, or a patchy finish.
Professional painters Kansas City trust know that proper prep work prevents costly mistakes. It ensures the paint bonds well and the finish stays smooth and vibrant for years. For homeowners and landlords, this means less frequent repainting and better protection for your walls.
Step 1: Cleaning the Surface
Before any sanding or patching, walls must be clean. Dust, grease, and grime create barriers that prevent paint from sticking. Use a mild detergent mixed with water to wash walls thoroughly. Pay special attention to kitchens and bathrooms where grease and moisture build up.
Use a sponge or cloth to wipe down walls.
Rinse with clean water to remove soap residue.
Allow walls to dry completely before moving on.
Skipping this step can cause paint to peel prematurely, especially in high-traffic areas.
Step 2: Repairing Damages
Walls often have cracks, holes, or dents that need fixing before painting. Filling these imperfections creates a smooth surface and prevents flaws from showing through the paint.
Use spackling paste or joint compound to fill holes and cracks.
For larger holes, patch with drywall pieces before applying compound.
Once dry, sand the patched areas smooth.
This step is crucial for landlords preparing rental units, as a flawless finish improves tenant appeal and protects property value.
Step 3: Sanding for Smoothness
Sanding is a key part of interior painting prep. It smooths rough patches, removes old paint flakes, and creates a slightly rough surface that helps new paint adhere better.
Use fine-grit sandpaper (120-220 grit) for walls.
Sand patched areas and any glossy surfaces.
Wipe away dust with a damp cloth after sanding.
Professional painters Kansas City often use sanding tools to speed up this process and ensure even results.

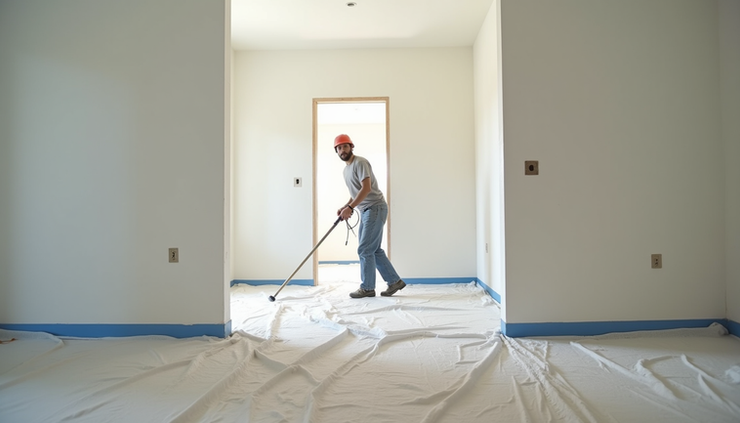
Step 4: Protecting Floors and Fixtures
Protecting your space during prep and painting saves cleanup time and prevents damage.
Cover floors with drop cloths or plastic sheeting.
Use painter’s tape to mask trim, windows, and fixtures.
Remove switch plates and outlet covers for a cleaner finish.
Taking these precautions shows the attention to detail that separates professional results from amateur jobs.
Step 5: Priming the Walls
Priming is often overlooked but essential, especially when painting over dark colors, stains, or new drywall. Primer seals the surface, improves paint adhesion, and enhances color vibrancy.
Choose a primer suited for your wall type and paint.
Apply evenly with a roller or brush.
Allow primer to dry fully before painting.
Priming can reduce the number of paint coats needed, saving time and paint costs.
Common Mistakes to Avoid During Prep
Even with the best intentions, some homeowners skip or rush prep work. Avoid these pitfalls:
Painting over dirty or greasy walls
Ignoring cracks and holes
Skipping sanding on glossy surfaces
Not using primer when needed
Failing to protect floors and furniture
These mistakes lead to uneven paint, peeling, and extra work down the line.
How Professional Painters Kansas City Approach Prep
Experienced painters follow a checklist to ensure nothing is missed:
Inspect walls thoroughly
Clean and repair all surfaces
Sand for smoothness and adhesion
Protect the workspace carefully
Apply primer tailored to the project
They also use quality tools and materials that improve efficiency and results. Hiring professionals can be a smart investment for complex or large projects.
Tips for Homeowners and Landlords
If you plan to do your own interior painting prep, keep these tips in mind:
Allocate enough time for prep; it often takes longer than painting.
Use quality spackling and primer products.
Work in a well-ventilated area.
Test paint on a small patch after priming.
Consider hiring painters Kansas City for advice or help with tricky prep tasks.
Proper prep work protects your investment and ensures your painting project looks great for years.

Comments